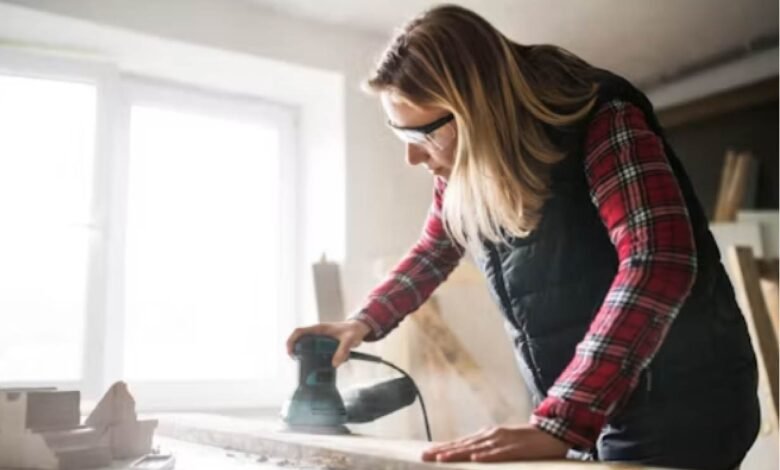
Sanding drywall is one of those finishing jobs where small surface flaws can become obvious after paint is applied. Hand sanding can work for small patches, but larger walls and ceilings take more effort and create a lot of dust. The right power tool can make the work more controlled while helping you cover a larger area with less repeated movement. That makes tool selection important before you start the final stage of a drywall project.
A good sander should match the surface, the size of the job, and the type of finish you want. Features such as variable speed, dust collection, a comfortable handle, and useful lighting can make a noticeable difference. You also need the right sanding disc and a technique that removes excess compound without damaging the drywall. This guide explains what to look for and how to use the tool properly.
Know When an Electric Sander Makes Sense
An electric drywall sander is most useful when you need to prepare broad areas rather than a small repair. It can help smooth joint compound, blend seams, remove surface texture, and prepare walls before primer. A long reach can also make ceiling work easier because you may not need to reposition a ladder as often. For small corners and tight areas, however, a sanding sponge or sanding block can still be more practical.
Think about the amount of surface you need to cover before choosing a tool. A compact model may be easier to control on smaller jobs, while a pole style design can provide more reach for large rooms. If you expect to work on both walls and ceilings, look for a model with a pivoting head and adjustable handle. This gives you more control when the sanding angle changes.
Choose Variable Speed for Better Control
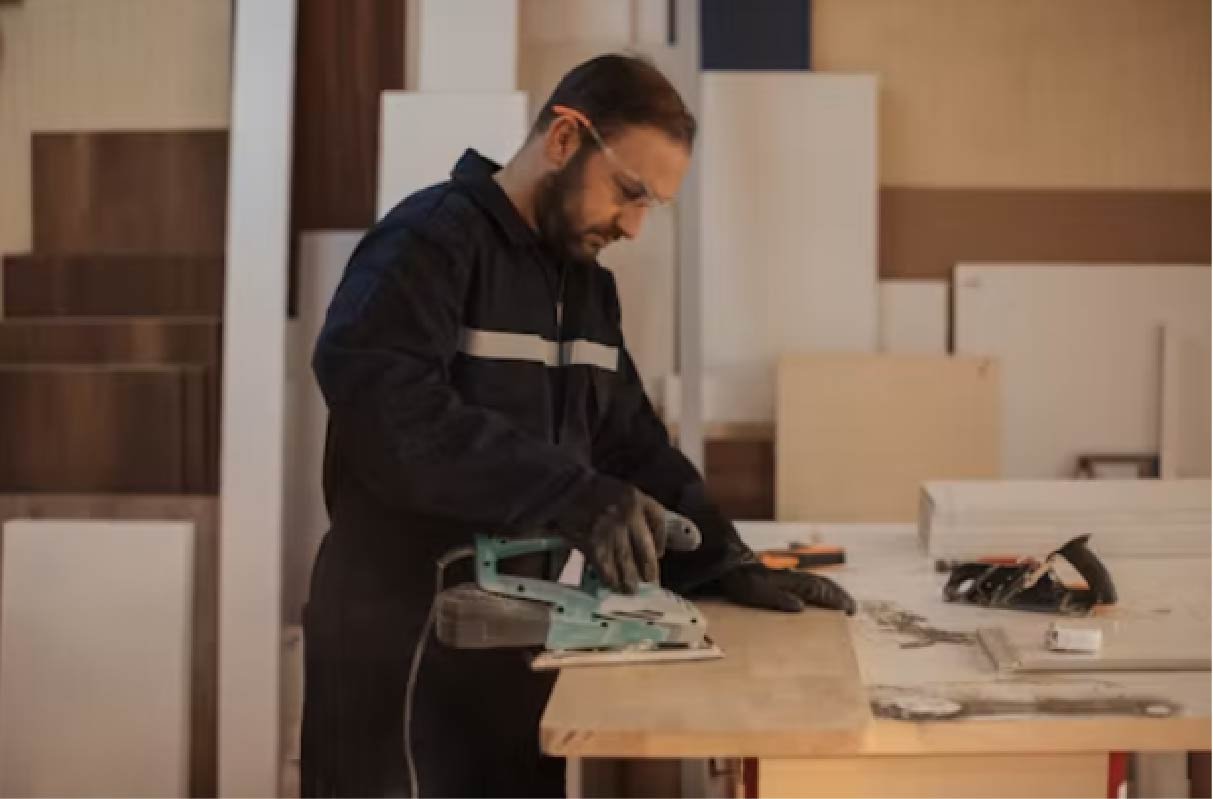
Different sanding tasks do not always need the same speed. A lower setting can give you more control during delicate finishing, while a higher setting can help with rougher areas and faster material removal. Current drywall sander guides commonly highlight variable speed because it lets users adjust the tool to the surface and sanding stage.
Speed control also helps reduce the chance of removing too much compound. Start with a moderate setting and test the tool on a less noticeable section. If the abrasive removes material too aggressively, reduce the speed and use lighter pressure. The goal is to smooth the surface rather than grind deeply into it.
Look for a Drywall Sander With LED Light
A drywall sander with LED light can help you spot ridges, shallow depressions, and uneven areas that may be difficult to see under normal room lighting. Light near the sanding head can create shadows across surface imperfections. This is especially useful when checking seams and patches before moving to primer. Several current models and professional reviews highlight integrated lighting for this reason.
Lighting does not replace proper inspection, though. Move the tool away from the surface and view the wall from different angles when checking your work. Pay extra attention to areas where the joint compound meets the existing drywall. Fixing small defects before painting is much easier than correcting them after the finish coat.
Make Dust Collection a Priority
Drywall dust spreads quickly through a room and can settle on floors, furniture, tools, and nearby surfaces. A sander with a dust collection connection can capture much of the material as you work. Many current electric models are designed to connect to a vacuum or include a collection system.
Good dust control starts with the tool but also depends on the vacuum setup. Check that the hose connection fits securely and that airflow remains steady during sanding. Empty the collection container when needed and keep filters clean according to the equipment instructions. Even with dust extraction, wear suitable respiratory and eye protection when sanding drywall.
Check the Handle and Working Reach
Reach becomes important when sanding ceilings or the upper sections of tall walls. An extendable handle can let you work from the floor while keeping the sanding head against the surface. A folding design can also make storage and transportation easier. Current buying guides frequently compare reach, hose length, weight, and balance because these factors affect comfort during longer jobs.
Do not judge a handle by length alone. The tool should remain manageable when fully extended, especially when the sanding head is above your shoulders. Look for comfortable grip areas and a head that can follow the surface without constant correction. A well balanced tool can be easier to guide than a heavier model with poor weight distribution.
Pick the Right Sanding Disc and Grit
The abrasive grit should match the condition of the surface. A coarser abrasive can help with rough compound or unwanted texture, while a finer grit is better for final smoothing. For many finishing tasks, guides recommend moving toward finer abrasives as the surface becomes more uniform.
Avoid using a coarse disc simply because it removes material faster. It can leave marks that require another round of finishing. Start with an appropriate grit and change it when the sanding stage changes. Keep spare discs available because worn abrasive material can make the job slower and less consistent.
Use the Sander Correctly on Walls
Before sanding, make sure the joint compound is properly dry and the work area is clear. Hold the sanding head flat against the surface and begin with light pressure. Move across the wall in overlapping passes instead of staying in one spot. Keeping the tool moving helps create a more even finish and reduces the chance of creating visible swirl marks.
Work from one section to the next instead of repeatedly sanding the same area. Check the surface after several passes and use the LED light or another light source to inspect the result. If you expose the drywall paper or start creating low spots, stop and reassess the pressure and grit. A smooth finish usually comes from controlled passes rather than aggressive sanding.
Use Extra Care When Sanding Ceilings
Ceiling sanding is more demanding because you are working overhead for extended periods. A long reach, pivoting head, and suitable dust collection system can make the process easier to manage. Suction can also affect how the tool feels against the ceiling, so adjust it according to the manufacturer’s instructions. Professional equipment guides note that suction settings may need to change between wall and ceiling work.
Keep your stance stable and avoid stretching too far to reach a distant section. Move your feet instead of forcing the tool into an awkward angle. If the sander starts pulling strongly toward the ceiling, reduce suction if the equipment allows it. Short working sections can also help reduce fatigue during overhead sanding.
Compare Power, Weight, and Pad Size
Motor power is useful, but more power does not automatically mean a better finish. A stronger motor can help with demanding work, yet a heavy tool may become tiring during long wall or ceiling sessions. Pad size also matters because a larger sanding surface can cover more area, while a smaller head may offer better control in restricted spaces. Current buying guides compare these factors alongside dust collection and overall handling.
Consider the type of work you do most often. For large rooms, reach and coverage may matter more than compact size. For detailed repairs, control and lower weight may be more important. The best choice is the combination that lets you maintain steady movement without excessive pressure.
Build a Simple Sanding Routine
Start by checking the wall under good lighting before turning on the tool. Mark or remember the areas with visible ridges, screw depressions, or uneven compound. Sand the higher areas first and then blend the surrounding edges instead of trying to flatten everything at once. After each section, remove loose dust and inspect the surface again.
Finish with a finer abrasive when the surface is close to ready for primer. Use a sanding sponge or block around corners, outlets, edges, and other areas that the power tool cannot reach easily. Clean the wall and surrounding work area before applying primer. This final inspection helps catch defects that were hidden by sanding dust.
Safety Matters During Drywall Sanding
Drywall sanding produces fine dust, so personal protection should be part of the setup. Wear suitable eye protection and respiratory protection, especially when working for extended periods. Keep the power cord and vacuum hose positioned so they do not become a trip hazard. Always follow the safety instructions supplied with the specific sander and vacuum.
Do not press the sanding head harder simply to make it remove material faster. Excessive pressure can reduce control and create uneven areas. Keep the tool moving and stop the machine before making adjustments or changing accessories. Good technique protects both the surface and the person using the tool.
Choose a Tool Based on Your Project
For occasional repairs, you may not need every available feature. A basic electric model with speed control and dust extraction can be enough for patching several rooms. Larger renovation projects may benefit from an extendable handle, adjustable head, useful lighting, and a reliable vacuum connection. Professional users may also place greater importance on balance, durability, serviceability, and long working sessions.
The important point is to compare features against actual work rather than buying based on specifications alone. Think about wall height, ceiling access, surface condition, sanding area, and how much dust you need to control. Then choose the combination that fits those requirements. This approach can help you avoid paying for features you will rarely use.
Frequently Asked Questions
What is an electric drywall sander used for?
It is used to smooth joint compound, drywall seams, patches, texture, and other surfaces before painting or finishing. It is particularly useful when working across large walls and ceilings.
Is a drywall sander with LED light useful?
Yes. The light can make ridges, high spots, and other surface imperfections easier to see while sanding. It is especially useful when normal room lighting does not show small defects clearly.
What grit should I use for drywall sanding?
The right grit depends on the surface and sanding stage. Coarser grit can help with rough areas, while finer grit is generally better for final smoothing.
Can an electric drywall sander be used on ceilings?
Many models are designed for both walls and ceilings. An extendable handle and pivoting head can make overhead work easier, but the tool should be controlled carefully to avoid uneven sanding.
Do I need a vacuum with a drywall sander?
Dust extraction is highly useful because drywall sanding creates fine dust. If the sander supports a vacuum connection, using a compatible vacuum can reduce airborne dust and cleanup around the work area.